How to create a landing page 9 – Local Development Site
Set up a local environment
Set up a test environment locally
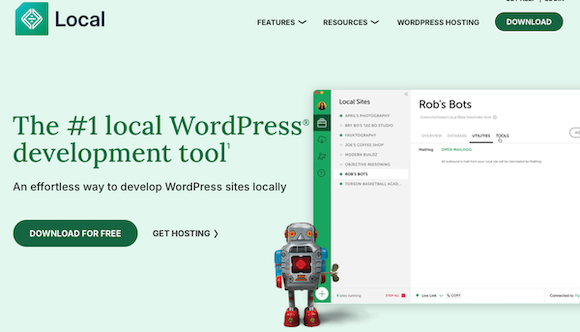
In addition to the production environment of WordPress on the public server, set up a local environment on your PC for testing and preparing the site. Here, we’ll use “Local,” which is easy to install.
① Go to the official “Local” website (https://localwp.com) and click “DOWNLOAD FOR FREE.”
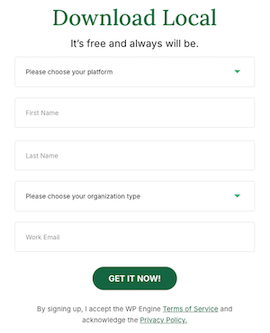
② Enter your OS and other details, then download the software.
③ Install the downloaded file and create a “Local” account.
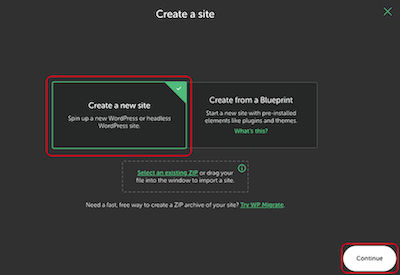
④ Launch the installed “Local” software.
⑤ Select “Create a new site” and click “Continue.”
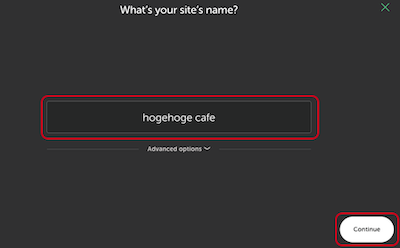
⑥ Enter “your site’s name” and click “Continue.”
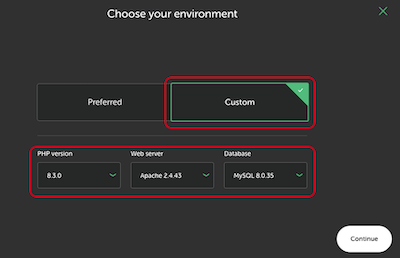
⑦ Select “Custom” and proceed according to the settings of your public server. For LOLIPOP!, you can check each item from the following.
Web server: LOLIPOP! Rental Server > Services > Server Specifications
PHP version: User Management Screen > Server Management and Settings > PHP Settings
Database: User Management Screen > Server Management Settings > Database
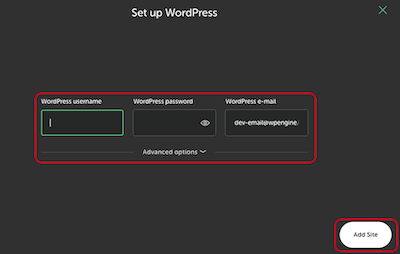
⑧Enter the following WordPress login information and click “Add Site” to create a local site.
WordPress username
WordPress password
WordPress e-mail
Using the local environment
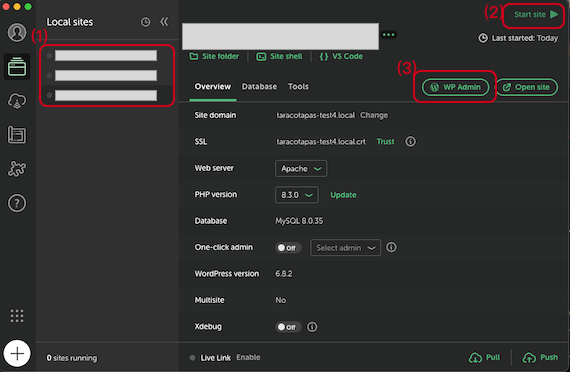
① Launch “Local.”
② Select the “Local site” created in (1), click “Start site” in (2), and then click “WP Admin” in (3) to launch the local WordPress environment.
The first time you launch it, the WordPress login screen will appear. Additionally, WordPress is set to English by default, so you can change the language settings as needed under Settings > Site Language.
How to create a landing page 9 – Local Development Site