② Enter a title in the “Add title” field and click “Save draft.” The title can be anything appropriate, such as “Sample Page.”
③ Click “Edit with Elementor.”
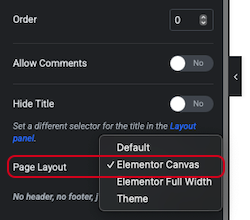
④ Once the Elementor editing screen opens, click the gear icon.
⑤ Change the default page layout to “Elementor Canvas.”
⑥ Click “Publish” in the upper right corner to save.
Editing with Elementor
From here, we will proceed with editing using Elementor.
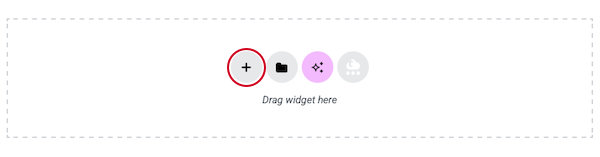
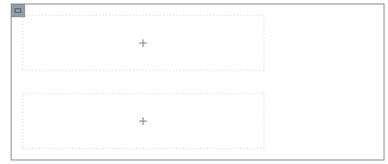
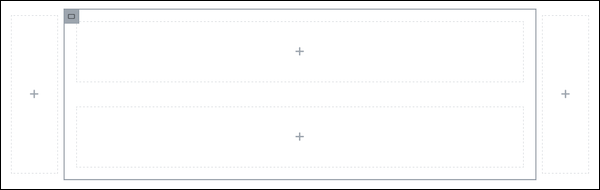
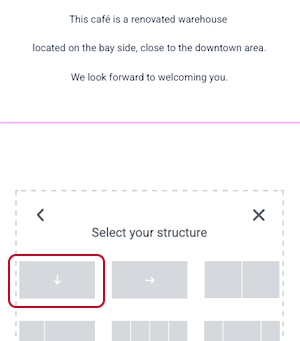
① Click the “+” on the far right and select Flex Box.
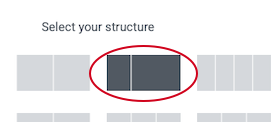
② Click the small two-column layout on the left side of Flex Box.
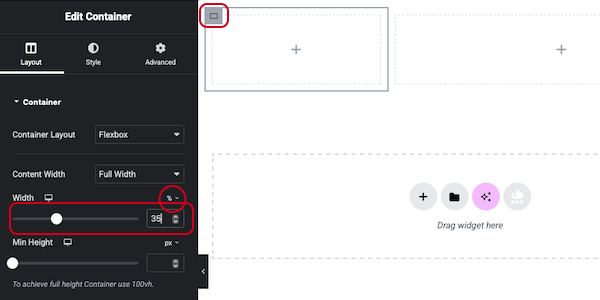
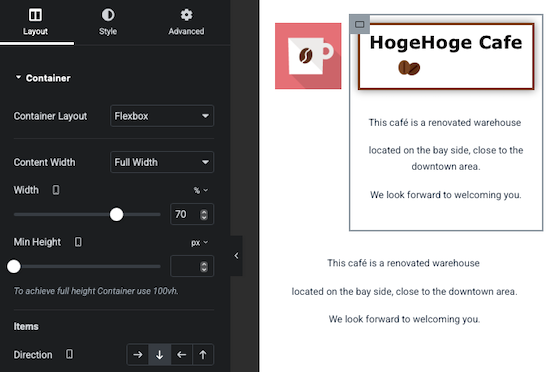
③ Set the Flex Box container as shown below.
④ Edit the width of the container. Set the left container to 30% and the right container to 70%.
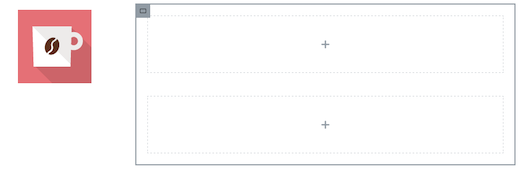
⑤ Add an image to the left container.
⑥Prepare the image. We will use a free coffee cup image from “FLAT ICON DESIGN”(http://flat-icon-design.com ).
⑦ Download the image from the site with the following specifications: size: 128×128, file format: PNG, etc.
8. Click the image section of “Choose Image” and insert the downloaded image.
The image size can be changed even after downloading using the standard OS functions. For Mac, use “Preview” > Tools > Adjust Size. For Windows, use “Paint” > Menu > Resize. You can also change the size after adding it to the page using Styles > Image > Width.
⑨Next, edit the right container. ・Select “↓” under Layout > Container > Items > Direction.
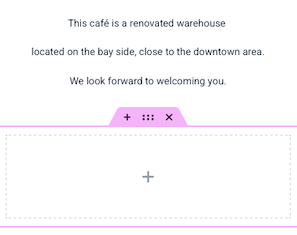
⑩ Click the “+” button inside the container to arrange two containers vertically.
⑪ Set the width of both vertically arranged containers to 65%.
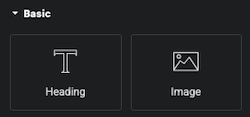
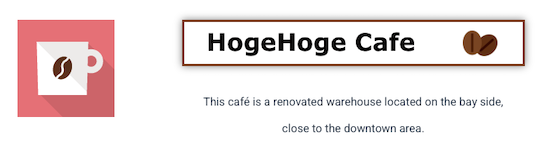
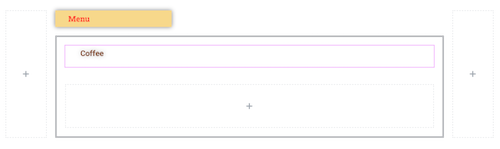
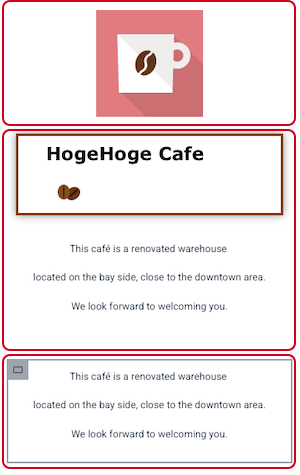
⑫ Place a “Heading” in the upper container of the two vertically arranged containers.
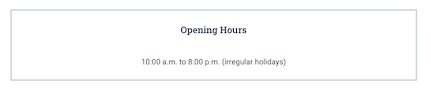
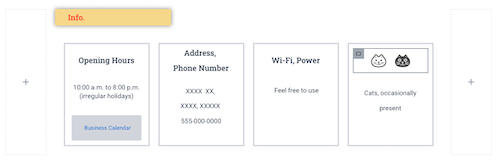
⑩ Add two text editors. Content > Text Editor and edit the content as follows. Style > Text Editor > Alignment and set both to center alignment.
: “Business Hours”
: “10:00-20:00 (Irregular Holidays)”
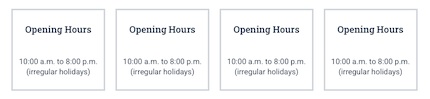
⑪ Duplicate the container with the added text and create four copies as follows.
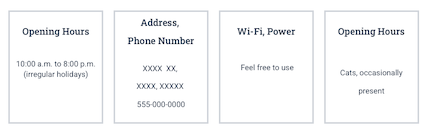
⑫ Rewrite the text in each container as follows.
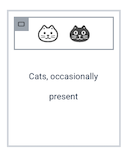
⑬ Delete the “Business Hours” text from the rightmost container and add a container instead. Set the direction of the added container to “→” and drag and drop two images into it.
Style > Text Editor > Text Color: Brown (HEXA#864A2B)
Advanced > Layout > Margin > Left: 35
⑦ Set the item direction of the lower container in the center to “→” and add a container.
⑧ Configure the added container as follows.
Layout > Container > Items > Direction: “↓”
Layout > Container > Width: 25%
⑨ Place the “Text Editor” and “Image.”
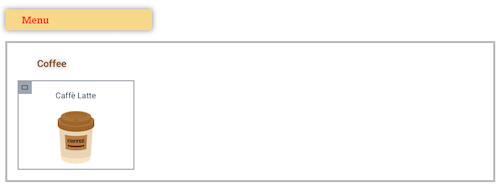
⑩ Set the text to “Cafe Latte” and configure as follows.
Style > Text Editor > Alignment: Center
⑪ Prepare the image. We will use free images of coffee and cake from “Jitanda” (https://jitanda.com).
⑫ Download from the site with width: 100 (minimum size), file format: PNG, etc.
⑬ Insert the downloaded “coffee” image.
⑭ Resize the image.
Style > Image > Width: 35%
⑮ Since the “Cafe Latte” text and coffee image are too far apart, move them closer. Select the text, then Advanced > Layout > Margin > Bottom: -25
⑯ Since the “Coffee” text and “Café Latte” text/image are also separated, adjust the position of the “Coffee” text container.
Advanced > Layout > Margin > Bottom: -40
⑯ At this point, it should look like this.
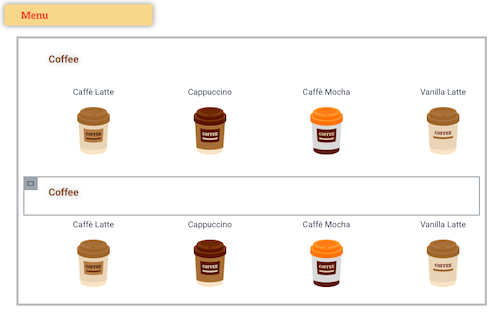
⑱ Next, set the container’s horizontal scroll display.
⑲ Select the “Cafe Latte” container and set the following.
Advanced > Layout > Size: None
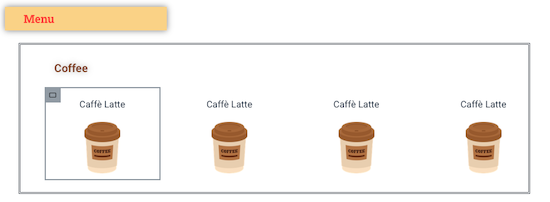
⑳ Duplicate the above container five times.
㉑ Select the parent container containing the six duplicated “Cafe Latte” containers and set the following.
Layout > Additional Options > Overflow: Auto
㉒Now that horizontal scrolling is enabled, replace the coffee text and images.
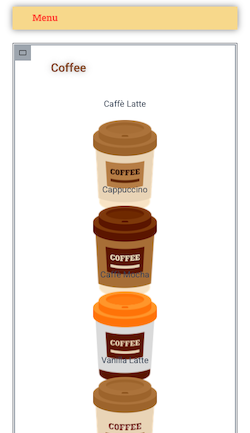
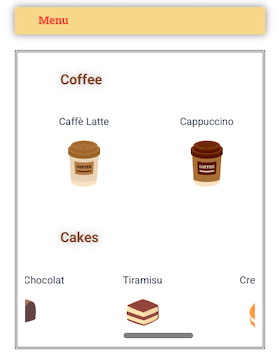
㉓The coffee menu is complete.
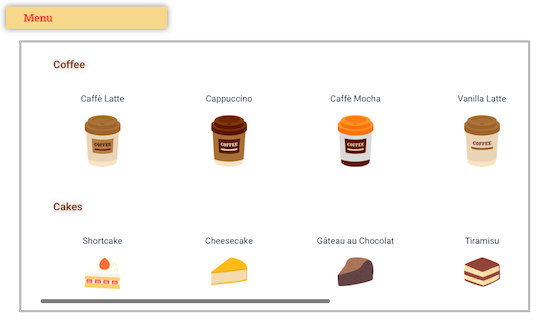
㉔Add the cake menu as well.
㉕Duplicate the container holding the “Coffee” text and the container holding the coffee image, and arrange them as follows.
㉖Replace the coffee menu with the cake menu.
㉗Once it looks like this, the Menu section is complete.
㉘Publish and confirm the entire page using “View Page.”
㉙Since the page feels cramped at the top, add an empty container at the very top of the page.
㉚Publish and confirm.
Responsive Design
Check the display on tablets and smartphones other than desktop PCs.
① Select the tablet icon at the top of the page.
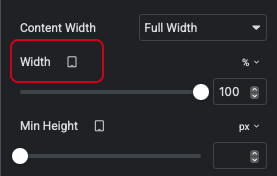
② On tablets, display the “Info” and “Menu” sections without margins on either side, filling the entire screen. Select the container and change the settings in Layout > Container > Width. Since the tablet mark is displayed, only the tablet screen layout is adjusted.
Set the width of the containers on both sides from 10% to 0%.
The width of the center container is changed from 80% to 100%.
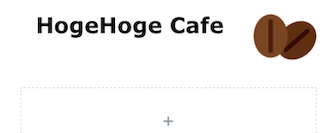
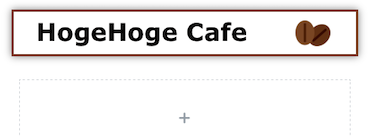
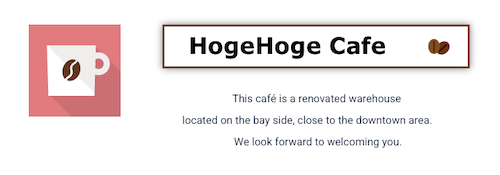
③The title “HogeHoge Cafe” is corrected.
Container width: 85%
④The text below “HogeHoge Cafe” is also corrected.
Text padding left: 60px → 0px, alignment: center
Container width: 80%
⑤ The tablet layout will be as follows.
⑥ Adjust each container in the “Info.” section using the following items.
Style > Typography > Size: Font size
Style > Typography > Line Height: Line spacing
Advanced > Layout > Margin
⑦ Next, configure the mobile screen settings. Select “Mobile” at the top of the screen.
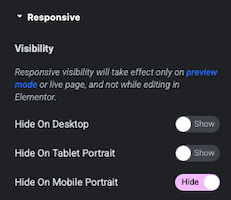
⑧The containers on either side of the “Info.” and “Menu” containers are displayed vertically, creating unnecessary blank space above and below, so we will set them to not be displayed. To hide them only on mobile, set the following.
Advanced > Responsive > Hide on Mobile Portrait: Hide
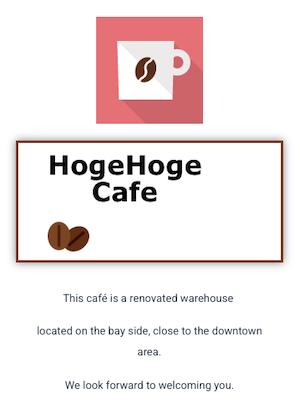
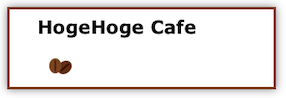
⑨Edit the title section of the mobile screen.
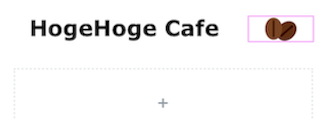
⑩ Select the “HogeHoge Cafe” logo and set it as follows:
Style > Headings > Typography > Size: 32→22
⑪Select the image of “coffee beans” and set it as follows:
Style > Image > Width: 27
⑫Set the following values for the text:
Style > Text Editor > Typography > Size: 12px
Style > Text Editor > Typography > Line Height: 20px
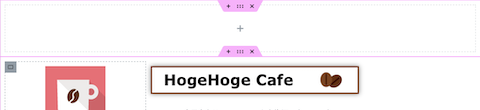
⑬Add a container below the one containing the title and text. Select the Flexbox container alone.
⑭Copy and paste the text into that container.
⑮The configuration is as follows. Here, the containers are divided into three separate units.
⑯Click the six-dot icon at the top of the title section and set as follows.
Layout > Container > Items > Direction: “→”.
⑰Set the width of the container holding the coffee cup logo to 30%.
⑱Perform the following settings.
Select the container containing the title and text, then go to Layout > Container > Width: 70%
Select the title, then go to Layout > Container > Width: 100%
Select the coffee beans, then go to Advanced > Layout > Margin > Top: -15
⑲ Select the text container above and hide it on mobile.
Advanced > Responsive > Hide on Mobile Portrait: Hide
⑳Set the opposite for the text container added below.
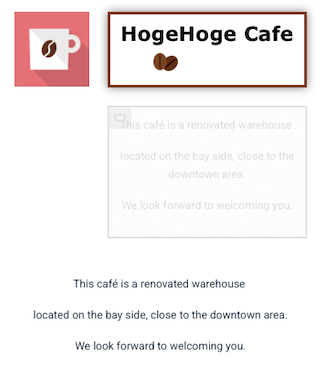
㉑Once you’ve completed editing the title section as shown below, the title section is finished. The faintly displayed hidden sections will not appear on the actual site.
㉒ Each container in the “Info.” section is modified for each item using the following items, similar to the tablet.
Style > Typography > Size
Style > Typography > Line Height
Advanced > Layout > Margin
The button size can be adjusted in Style > Button > Padding.
㉓The “Menu” section will be displayed as follows on mobile devices.
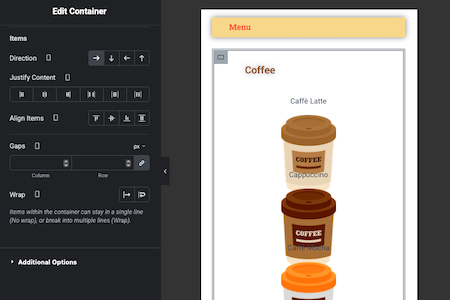
㉔Apply the following settings to the container containing multiple coffee images.
Layout > Container > Wrap: “→”
㉕ Since the coffee images can be scrolled horizontally, set the width of each individual coffee image container to 60%.
Layout > Container > Width: 60%
Adjust the margins to compensate for the wide left and right spaces.
Advanced > Layout > Margins > Right/Left: -20
㉖You can set each image individually, but after setting one, you can copy the container and use “Paste Style” to apply the formatting to other containers.
㉗Set the cake similarly, and once it looks like this, the Menu section is complete.
㉘The entire layout is now complete, including responsive design, so publish it and confirm.
How to create a landing page 3 – Elementor practical Guide