How to create a landing page 2 – WordPress Theme, Plugins, Elementor Basics
Preparation in WordPress
Selecting a WordPress Theme
① Access the WordPress administrator page. For the administrator page URL, refer to the following on Lolipop! Site Creation Tools > Easy WordPress Installation > WordPress Installation History
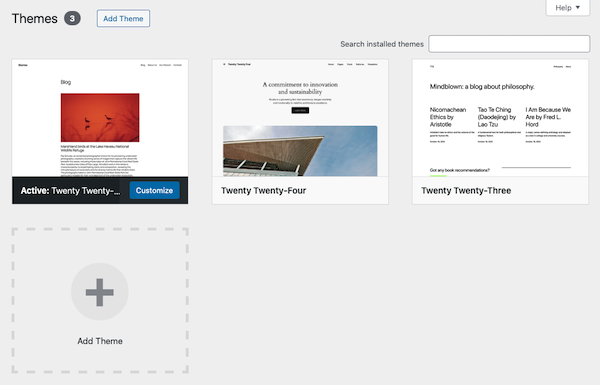
② Open Appearance > Themes.
③ Click “Add Theme”.
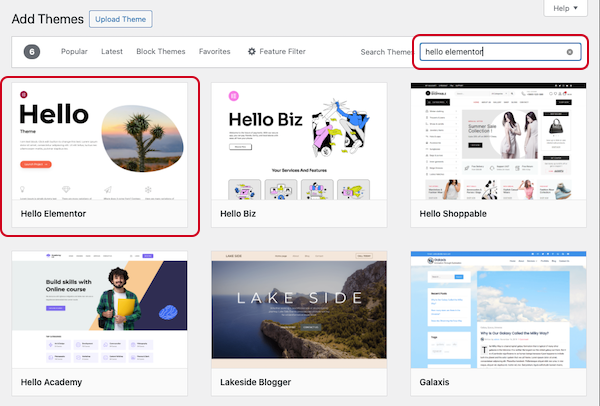
④ Search for “Hello Elementor” and install it.
⑤ Set up the child theme for Hello Elementor.
Themes are frequently updated, and as a result, minor settings changes may be overwritten and lost. To prevent this, set up a child theme and make minor settings changes there so that they are not lost even if the parent theme (main theme) is updated.
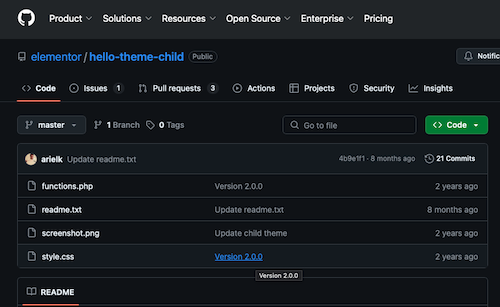
⑥The Hello Elementor child theme can be downloaded from GitHub.
⑦Click “Code” and “Download ZIP” to download the ZIP file.
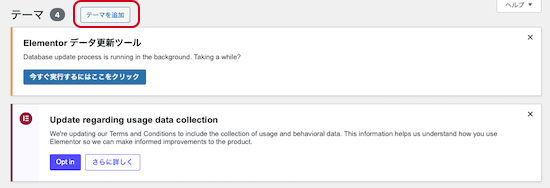
⑧Return to WordPress and open Appearance > Themes.
⑨Click “Add Theme”.
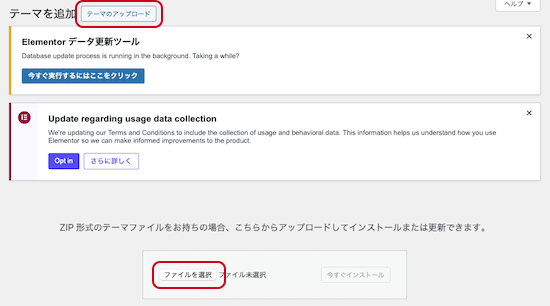
⑩ Click “Upload Theme” and “Choose File” to upload the ZIP file you downloaded earlier.
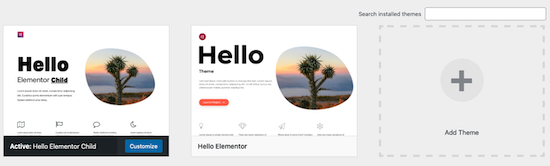
⑪ Activate the Hello Elementor child theme.
⑫ Delete any unused themes. You can delete each theme by clicking “Delete” after selecting it.
⑬ The theme setup is complete once it looks like this.
Installing Additional Plugins
Install the necessary plugins for building a WordPress site to add functionality.
① Open “Plugins” in the admin panel.
② Click “Add Plugins.”
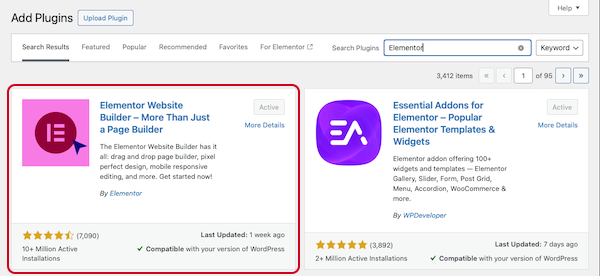
③ First, search for “Elementor” and click “Install Now.”
Elementor is a tool that allows you to efficiently create and edit high-quality WordPress sites without writing code. The free version alone is sufficient for creating landing pages.
④ Once the installation is complete, click “Activate.”
⑤ The following plugins will also be added later. We will install them later.
Essential Addons for Elementor (header menu)
MetForm (contact form)
Polylang (multilingual support)
Connect Polylang for Elementor (multilingual support)
⑥ About the plugins already installed
Site Kit by Google: A plugin that integrates with access analytics tools like Google Analytics. Activate it.
Akismet Anti-spam: Spam Protection: A tool that automatically filters spam comments mixed in with comments on articles and posts. If your site does not have a comment section, it is unnecessary, so delete it.
Hello Dolly: This tool displays the lyrics to the song “Hello Dolly” in the upper right corner of the WordPress admin panel. It is a commemorative tool from when plugin functionality was first introduced to WordPress. It is not necessary for functionality, so you can delete it.
Creating an LP with Elementor (Basic Edition)
Creating a new Page
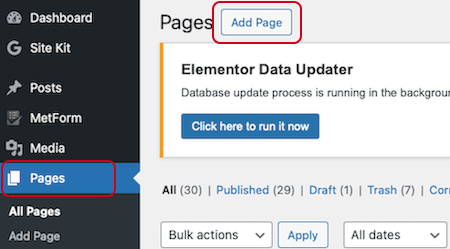
① Open Pages > All Pages and click “Add Page.”
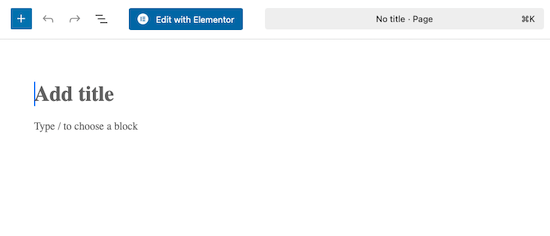
② Enter a title (e.g., “Test”) in the “Add title” field, then click “Save draft.”
③ Click “Edit with Elementor.”
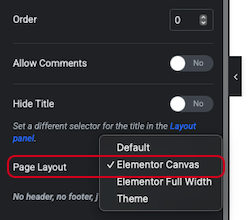
④ Once the Elementor editing screen opens, click the gear icon.
⑤ Change the Page Layout: “Default” to “Elementor Canvas.”
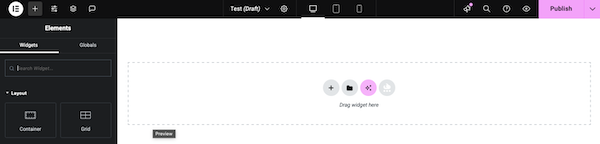
⑥ This will display a blank screen that can be edited with Elementor.
⑦ Click “Publish” in the upper right corner to save the page, and you can confirm it by clicking “View Page.”
Basic Operations in Elementor
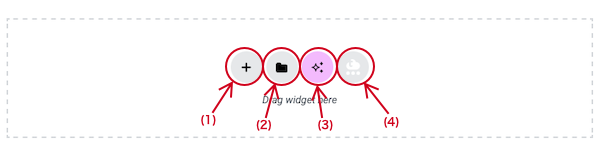
Here’s an explanation of each button for creating pages in Elementor.
(1) The “+” button is used when creating a page from scratch. Clicking it will bring up a screen where you can choose between Flex Box and Grid. Details will be explained later.
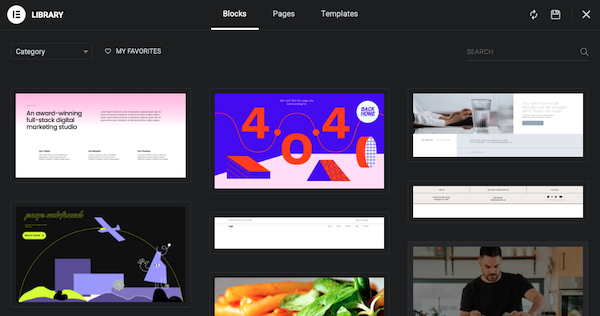
(2) Clicking it will open a page like the one below.
“Blocks”: Sample templates for individual parts
“Pages”: Sample templates for entire fixed pages
“Templates”: You can save pages or parts you have created yourself.
Sample templates are available in both free and paid versions. While they can save time if used effectively, they will not be used on this site. Details about “Templates” will be explained later.
(3) Site construction using AI is possible (beta version). This will not be used here.
(4) A collection of sample templates using “templately (add-on plugin).” There are free and paid versions. We will not use this here.
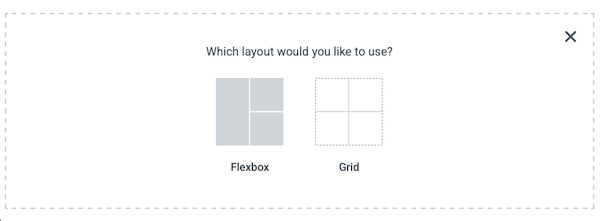
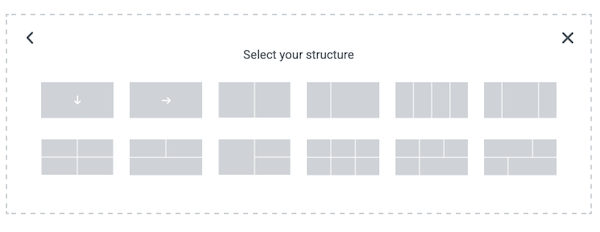
① Clicking the “+” in (1) brings up the following screen. Both options allow you to place divided boxes (frames) within the page.
Flexbox: Allows you to flexibly place frames by specifying their vertical and horizontal sizes.
Grid: Allows you to place frames of the same size in specified numbers.
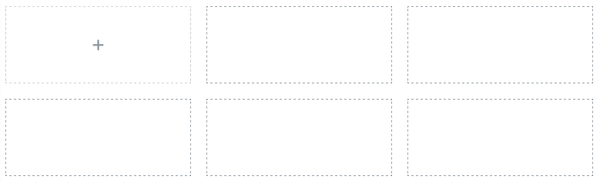
② If you select “Grid” for testing, equally divided frames will be displayed.
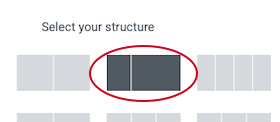
③ Click on the 6-divided frame. The divided frames are fully arranged within the container. The size of the container can be changed. You can also increase or decrease the number of frames within the container later.
④ Click the “X” tab at the top center of the container to delete the container created with Grid. By the way, the functions of each mark are as follows.
“+” Add a container
“six-dot mark” Right-click to display the menu
“X” Delete the container
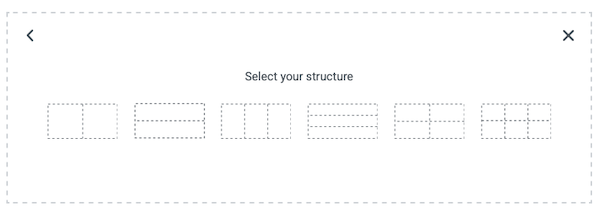
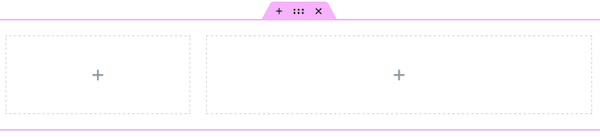
⑤ This time, select “Flex Box.” The following frame configuration will be displayed.
⑥ Click the small two-frame configuration on the left.
⑦ The following Flex Box container is created.
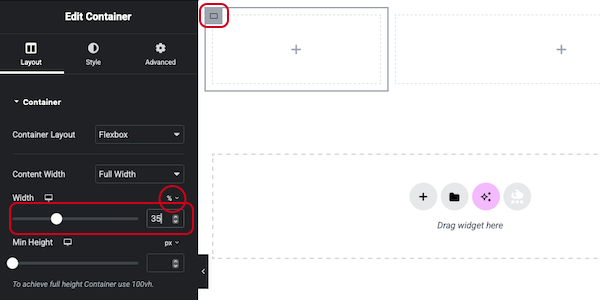
⑧ Click the upper left corner of the small container to edit it. Select “%” from the menu on the right to change the width ratio within the page. Set it to 35% here.
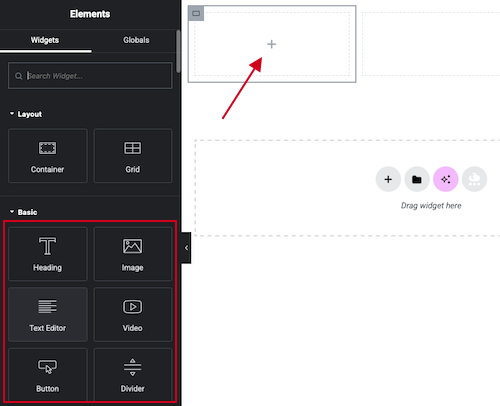
⑨ Click the “+” button inside the container to display the widgets. Drag and drop to add them.
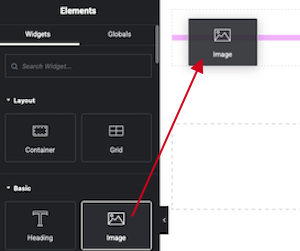
⑩ Drag and drop an image.
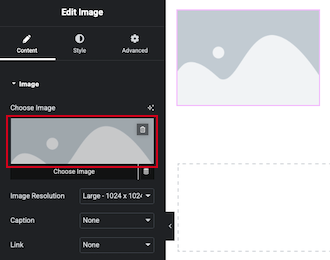
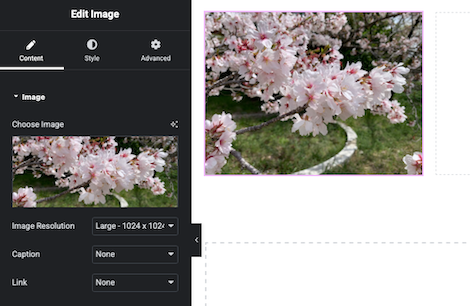
⑪Click on the image section of “Choose Image.”
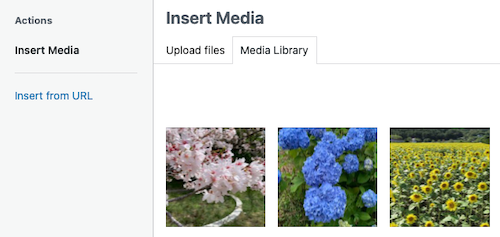
⑫The image selection screen will appear, so click here to insert the image. The image should be uploaded in advance from Media > Library. If the image has not been uploaded, proceed to the “Upload File” tab, click “Select File,” select the file, upload it, and then click “Select” to insert it.
⑬The image has been inserted.
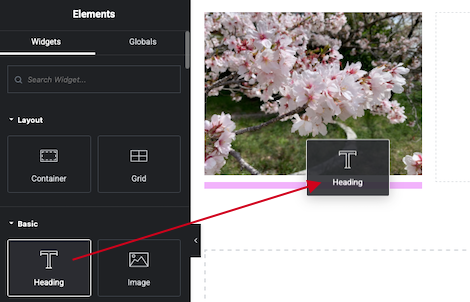
⑭Let’s insert a heading below the image.
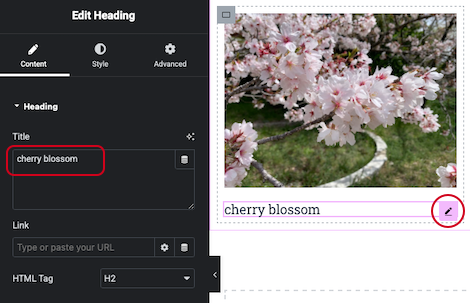
⑮Click the pencil icon on the right side of the inserted “Heading” to edit it. You can adjust the following settings.
Content: Content > Heading > Title
Font: Style > Typography
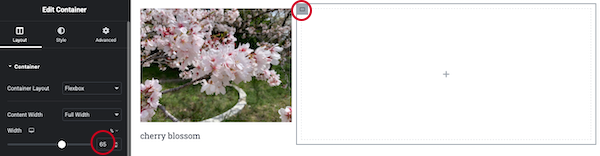
⑯Next, let’s edit the container on the right side. Click “Edit Container” in the upper-left corner of the right-side container. Set the width to 65% so that it spans 100% of the total width.
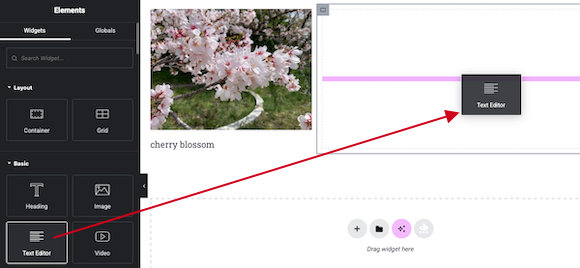
⑰Click the “+” icon on the right-side container. A list of available widgets will appear; drag and drop the Text Editor widget into the container.
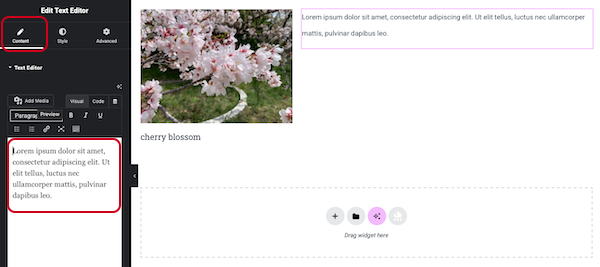
⑱The Text Editor will display sample text. Replace the content within the frame shown in the left-side sidebar.
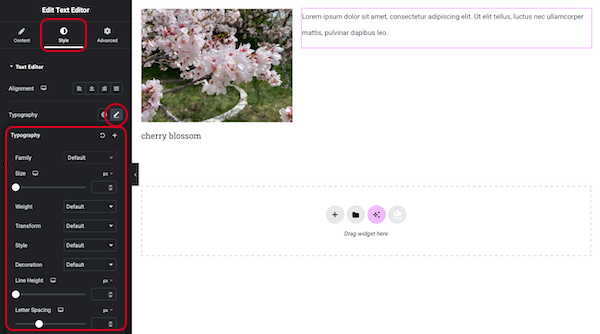
⑲ Adjust the font type, size, line height, and character spacing from Style > Text Editor > Typography.
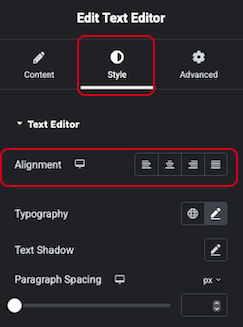
⑳ You can adjust the alignment of the text editor content as a whole from the following:
Style > Text Editor > Alignment
Advanced > Layout > Margins and Padding
How to create a landing page 2 – WordPress Theme, Plugins, Elementor Basics